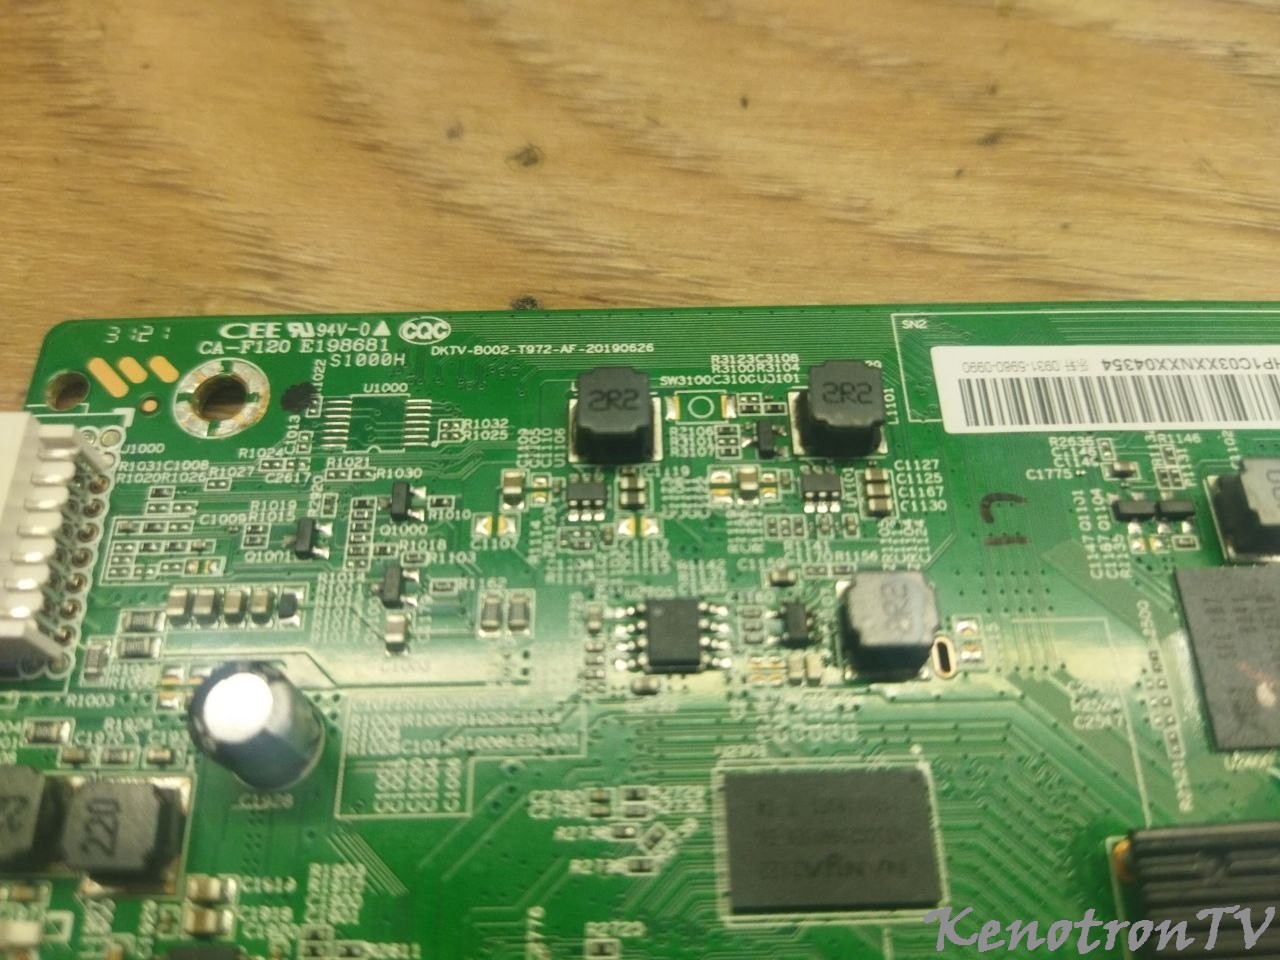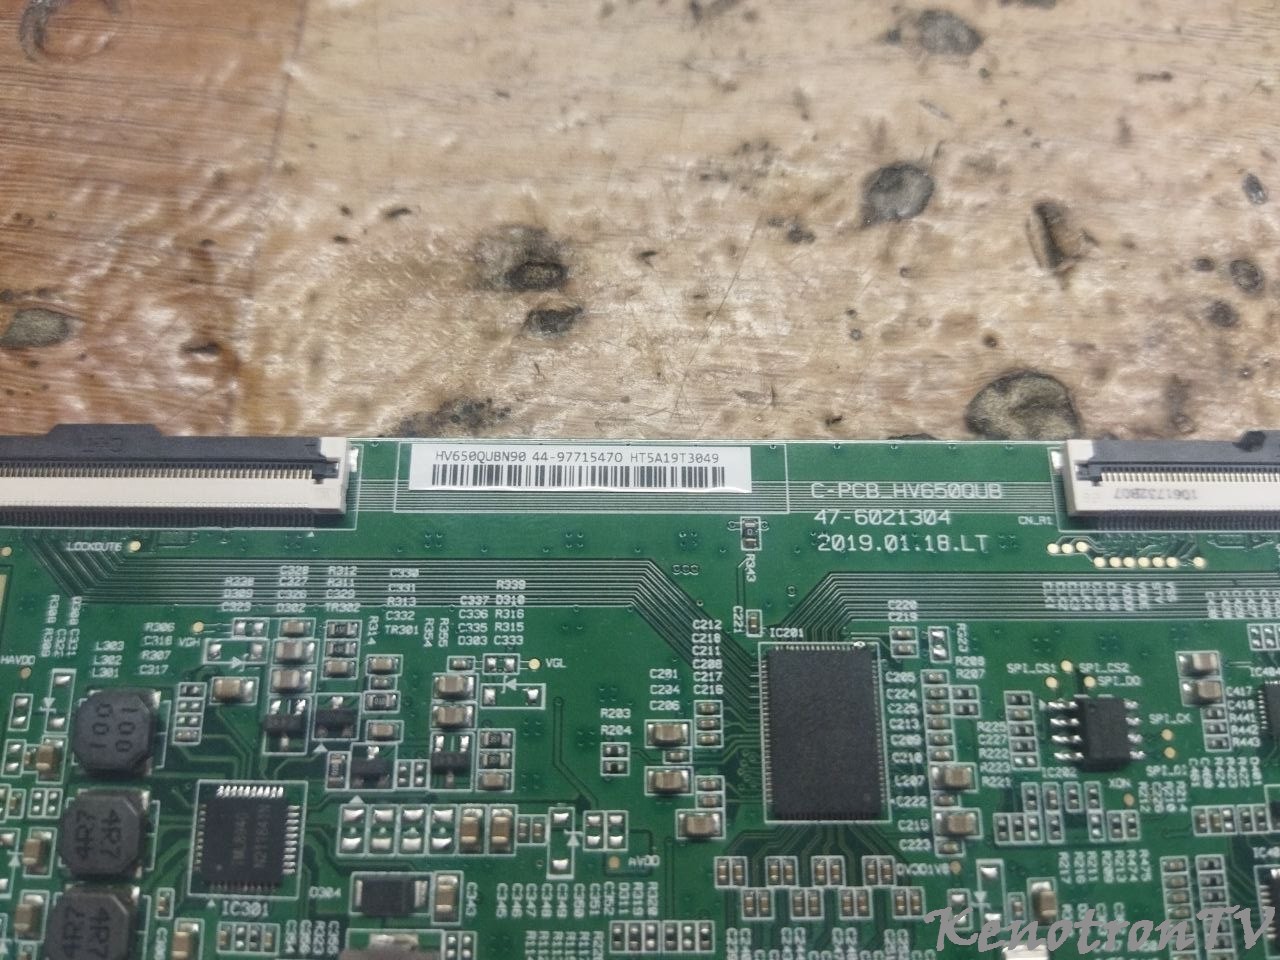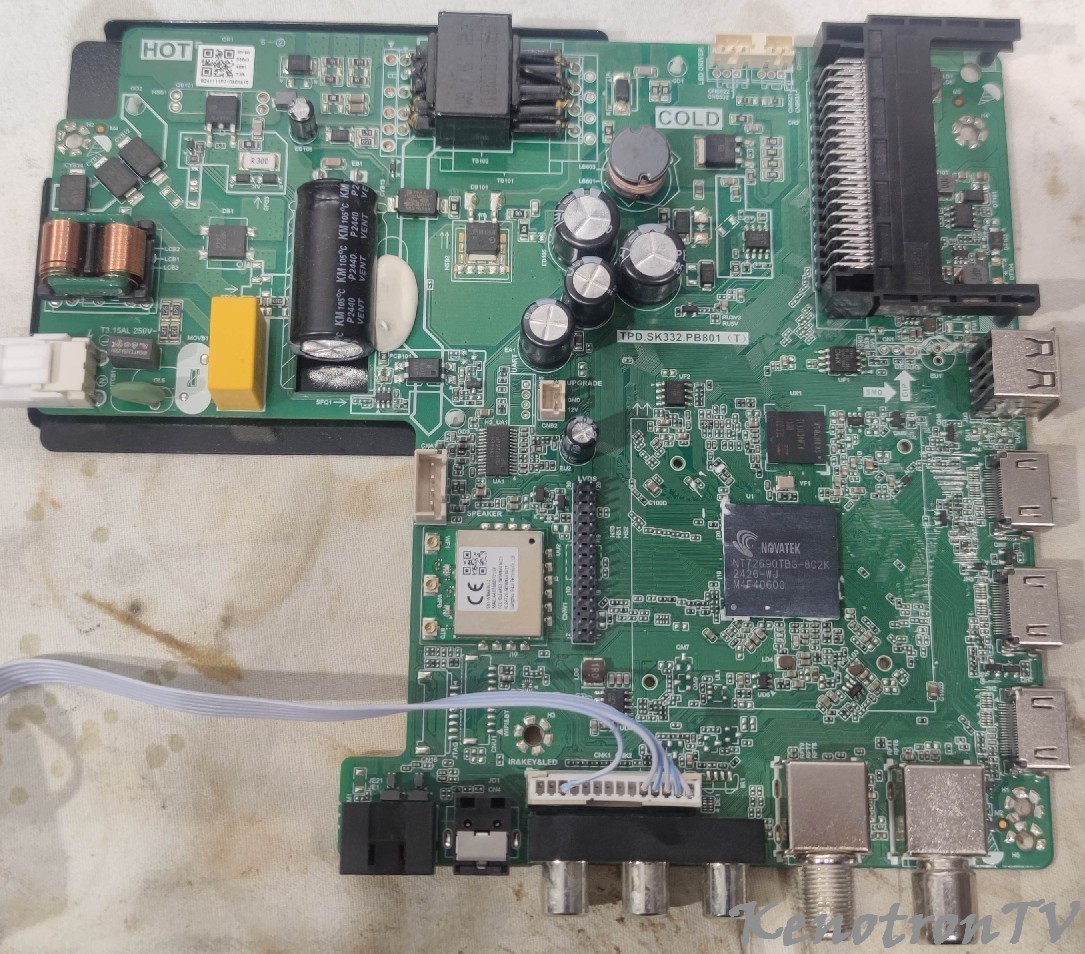


Информация о файле
ERISSON 43ULEA99T2SM, LOT 00001
Софт для устранения проблемы с приёмом T2 43 дюйм (6586_DVBT_8G.bin)
USB Firmware Software: SW for erisson 43ULEA99T2SM.bin(51SDA18010565)
Net Work TV MSD6586 software upgrading (After service) 1, software upgrade tools and materials * AC110 ~ 240V power supply and power cord * USB flash drive (version 2.0, the capacity is not more than 8G) * Upgrade software 2, the software upgrade content and procedures : a. Before main procedure update, make a record of mainboard RJ45 terminal MAC adder. Press the MENU button on the remote control to pops up the main menu, then press 8202 followed by the number key to enter the factory menu , record MAC address.
 Before upgrade AMC address,make a record for prevent upgrade failure or other abnormality cause MAC address lost.(Not recover)
b.U disk formatted as FAT32 format , and then upgrade the software ( software name and case is MstarUpgrade, suffix bin) put in the U disk .
 The bigger the file, the longer time upgrade will take, it is normally about 3~5 minutes,give enough time to make sure upgrade success
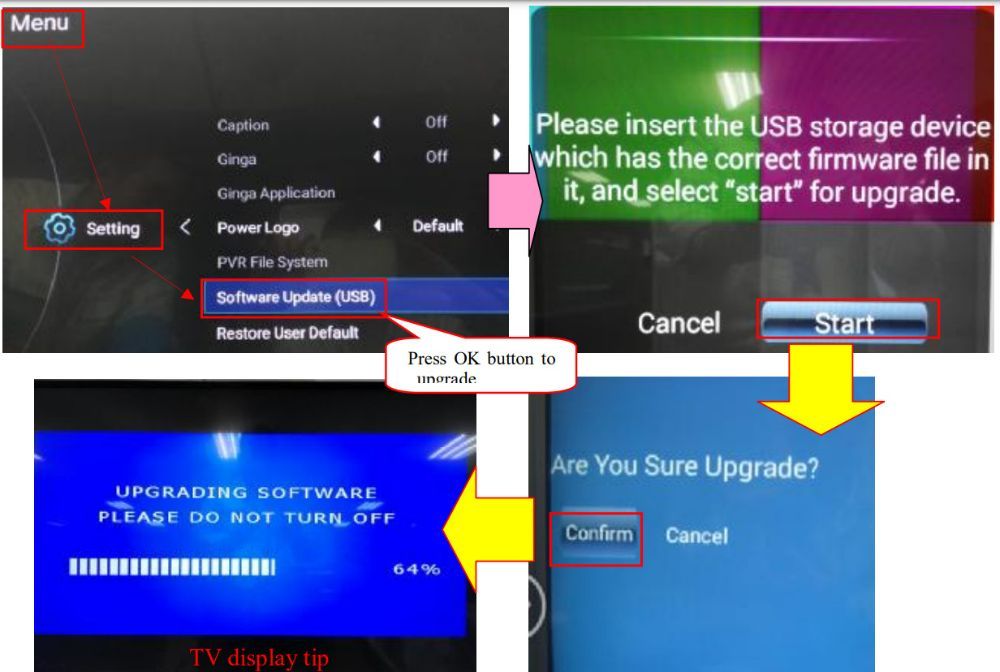
c.Mainboard software upgrade: Insert U disk into TV main board or programming fixture board USB interface,press MENU key on remote controller to pop up user menu,then press left/right key to switch to Setting interface,press up/down key to move cursor to“Software Update(USB)”option,press OK key to enter into next level menu. Press right key to move to Start option,press OK to conduct upgrade. After finished upgrade,the machine will automatically power on, and it takes about 5 minutes. It is forbidden to outage or conduct other operation.Otherwise,it will lead to mainboard damaged or failing to start up caused by mainboard EMMCA chip locked.
d. Notes: a). the file name and the case cannot be wrong , otherwise it will not be upgraded . b). When using the U disk upgrade, sometimes light will no longer flashing after a TV remote control panel lights flickering flashes ten seconds, this is upgrade failure. Normal upgrade remote panel lights flashing to be more than two minutes, in this case upgrade again by powering off main board. c). after powering off, if main board cannot upgrade normally , programming again the boot file (Mboot.bin).. e). If the operator of this program is not familiar with the software, under the condition the can see factory menu recommended upgrading the operating menu to enter the factory to prevent misuse. f). If the above method cannot upgrade, using programming board online upgrade following the instructions: f. After finished update,in order to ensure TV working in the best condition,need to conduct factory reset. After pop up user menu,press 8202 number on remote controller to enter into factory menu,move the cursor to“main update” option,press OK key to execute factory menu reset.(Executing factory reset will clean all user setting). Reset in user menu will not erase user individual setting,but cannot ensure that TV is in the best working condition; Press MENU key on remote controller and press left-right key to switch to Setting sub-menu,choose Restore User Default option to conduct user menu reset.(User menu reset won't erase the saved channel information,but it will make some common use setting recover to initial state) G.Warning : Do not use non-KTC software to upgrade mainboard. It is forbidden to outage or unplug U disk manually during upgrade,for prevent failing to starting up caused by EMMC chip locked by main chip!
Что нового в версии 07.05.2025 23:55 Просмотр изменений
Размещено
SW for erisson 43ULEA99T2SM.bin (51SDA18010565)